
Well, it is New Year’s Eve, and it is likely that many of you are beginning to think about your 2009 resolutions. I was starting to think about resolutions as I drove in circles around my gym’s parking lot yesterday, looking for a space. It seems that more people have been jumping on the exercise bandwagon since the glut of the holidays. Not good news for me, since if I spend more than 5 minutes waiting for a parking spot, I’m outta there! (my resolve is weak; I feel shame)
For rest of us, the people who are waiting until the last possible moment to declare the holidays over and the cleanse/dry-out/diet begun, I have a final sweet fix. And if you bake it within the waning hours of December, you can still eat it in the first days of 2009 without guilt, since wastefulness is no way to start a new year. Trust me – I used that justification in 2008, 2006, and 2005 with no qualms!
Spice Cake, from The Cook’s Encyclopedia of Baking by Carole Clements
(Serves 10-12)
1 1/4 c. milk
2 Tbs. dark corn syrup (I used 1 Tbs. light corn syrup and 1 Tbs. molasses)
2 tsp. vanilla extract
3/4 c. walnuts chopped (to omit walnuts, use 1 1/2 Tbs. more flour and add 2 tsp. vegetable oil to the butter) 1 1/2 sticks butter, at room temperature
1 1/2 c. sugar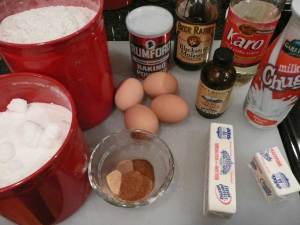 1 egg, at room temperature
3 egg yolks, at room temperature
2 c. flour
1 Tbs. baking powder
1 tsp. grated nutmeg
1 tsp. ground cinnamon
1/2 tsp. ground cloves
1/4 tsp. ground ginger
1/4 tsp. ground allspice
Cream Cheese Frosting:
6 oz. cream cheese
2 Tbs. unsalted butter, room temperature
1 3/4 c. confectioners’ sugar
2 Tbs. finely chopped ginger
2 Tbs. maple syrup (maple syrup was my swap-in for ‘syrup from stem ginger’: feel free to use that if you can find/make it)
 Preheat oven to 350 degrees F. Line two or three (depending on how many layers you want in your cake) 8-inch cake pans with wax/parchment paper and grease. I learned a trick once for lining a round cake pan – fold a square of parchment (or wax) paper in half, then fourths. Now bring the open edges together to form a triangle. Then position the point of the triangle in the center of the pan, as shown in my lovely photo. Cut the parchment paper at the place where it reaches the edge of the pan. Open up your sheet and you should have a perfect circle the size of the bottom of your cake pan.
In a bowl, combine the milk, corn syrup, vanilla and walnuts.
With an electric mixer, cream the butter and sugar until light and fluffy. Beat in the egg and egg yolks. Add the milk mixture and stir well. [At this point I should note that my batter was one of the ugliest and least promising-looking I’ve ever encountered. It seemed lumpy and greasy and looked like it was separating. I am sure it was due to my substitutions, but in any case the cakes came out really well. So if your batter looks funny, just power through and see what happens! You might get lucky, like I did!]
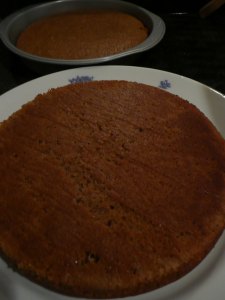
Sift together the flour, baking powder, and spices 3 times. Add the flour mixture in batches, and fold in carefully after each addition.Divide the cake mixture between the pans. Bake until the cakes spring back when touched lightly – about 25 minutes for 3 layers, a bit longer for 2 layers. Let stand 5 minutes, then unmold and cool on a rack.
For frosting, combine all the ingredients and beat with an electric mixer. Spread the frosting between the layers and over the top.
Then, eat up! I loved this cake, and RJ – a strong proponent of the Duncan Hines “Moist Deluxe” box – agreed that it was super moist and really flavorful. I hope that the below picture can convey that the crumb of this cake was large and not at all dry or dense. If you like walnuts, I think that the added crunch would have been welcome, but we aren’t nut lovers, so this one made us happy. Enjoy!


 Since my last chicken post was kind of a bust (no offense, honey, it just wasn’t really a recipe. And besides no one can fry those Tyson tenders like you can – it can’t be taught!), I have a really really good one for you today. This recipe was given to me by a friend who is taking a Healthy Cooking class out in Brookline, MA. She shared with me some of the dishes she had already made, and I of course weeded through all the really healthy ones with such forbidden items as vegetables, tofu, and whole wheat flour, to find the only one my husband would eat. And, boy, did he ever! We are huge fans of this recipe, even more so when I have caramelized onions already on hand to make this even easier! In fact, may I recommend to all of you that you always have some caramelized onions on hand? They are great for
  In any case, this dish just really tastes good. I’ve made it with both grocery store President-brand brie and with the really good Brie de Nangis that my local cheese shop,
  1 Tbs. and 1 tsp. olive oil, divided
 Spoon onion mixture into bowl and let cool. Once cooled, stir in Brie, sage and salt and pepper to taste.
 At long last, there will be pictures! There is no question in my mind that a food blog simply cannot exist without the mouthwatering images that tempt and entice you to grab your nearest skillet and spatula and head for the kitchen. Hopefully today’s post will do just that! It is a special treat to have as a guest blogger my husband RJ. Though I am usually the one cooking dinner, he has never refused to fill in for me when I needed a break. He has a short repertoire, for sure, but his dishes never fail to satisfy, and they always involve the bare minimum of prep time.
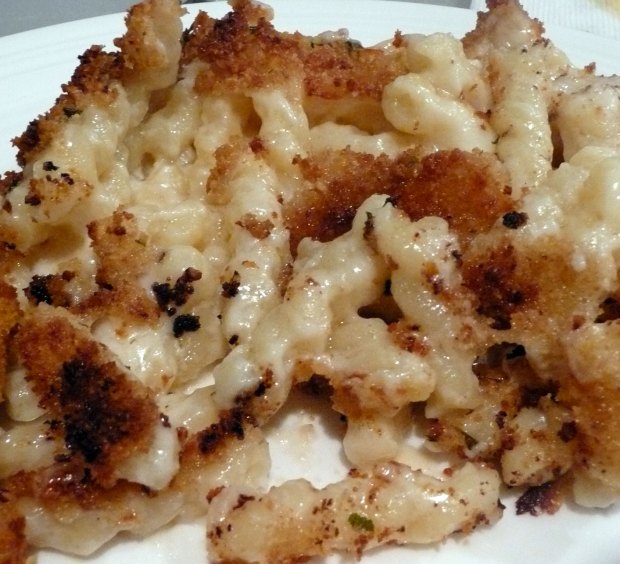
 My lovely husband has decided to share his secret chicken recipe today, as I break down a gooey and decadent macaroni and cheese side dish. I do not recommend serving these together, as we did this past weekend, for fear of breadcrumb-whiteflour-carb overload. But the weather outside was frightful and these dishes, under the circumstances, were delightful.


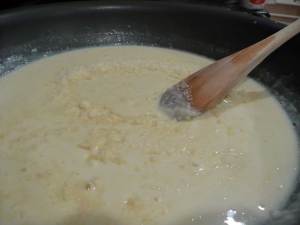
 Melt the butter in a large skillet. Add flour, 1/4 tsp. kosher salt, and pepper to taste, stirring constantly. When it starts to thicken, gradually add the milk, whisking constantly until the mixture has the consistency of heavy cream, about 1 minute. Gradually add the cheddar, fontina or gruyere, and 1/2 c. of parmesan cheese, stirring all the time. Pour the cheese mixture into the pasta and stir to combine. Pour into a 8×8″ baking dish. The noodles will be drowning in sauce for now, but it will get soaked up in the baking process.
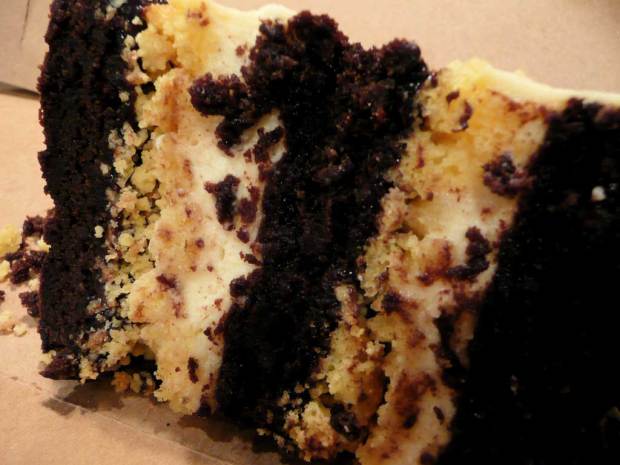
 Don’t let the crazy names fool you – compost cookie, cornflake marshmallow chocolate chip cookie, and corn cookie are some of the best mouthfuls you’ll ever meet. In addition to cookies, the Milk Bar serves cakes and pies. “Crack Pie”, in case anyone’s wondering, is made of butter, brown sugar, heavy cream, corn flour, and a hint of nutmeg. Apt name, I’d say. I am of course not the first to laud the offerings of the Milk Bar – Adam of